September 12, 2026 · 5 min read
Meal Prep for Weight Loss: A Beginner's Guide
By The Calorie Plans Team — evidence-based nutrition writers
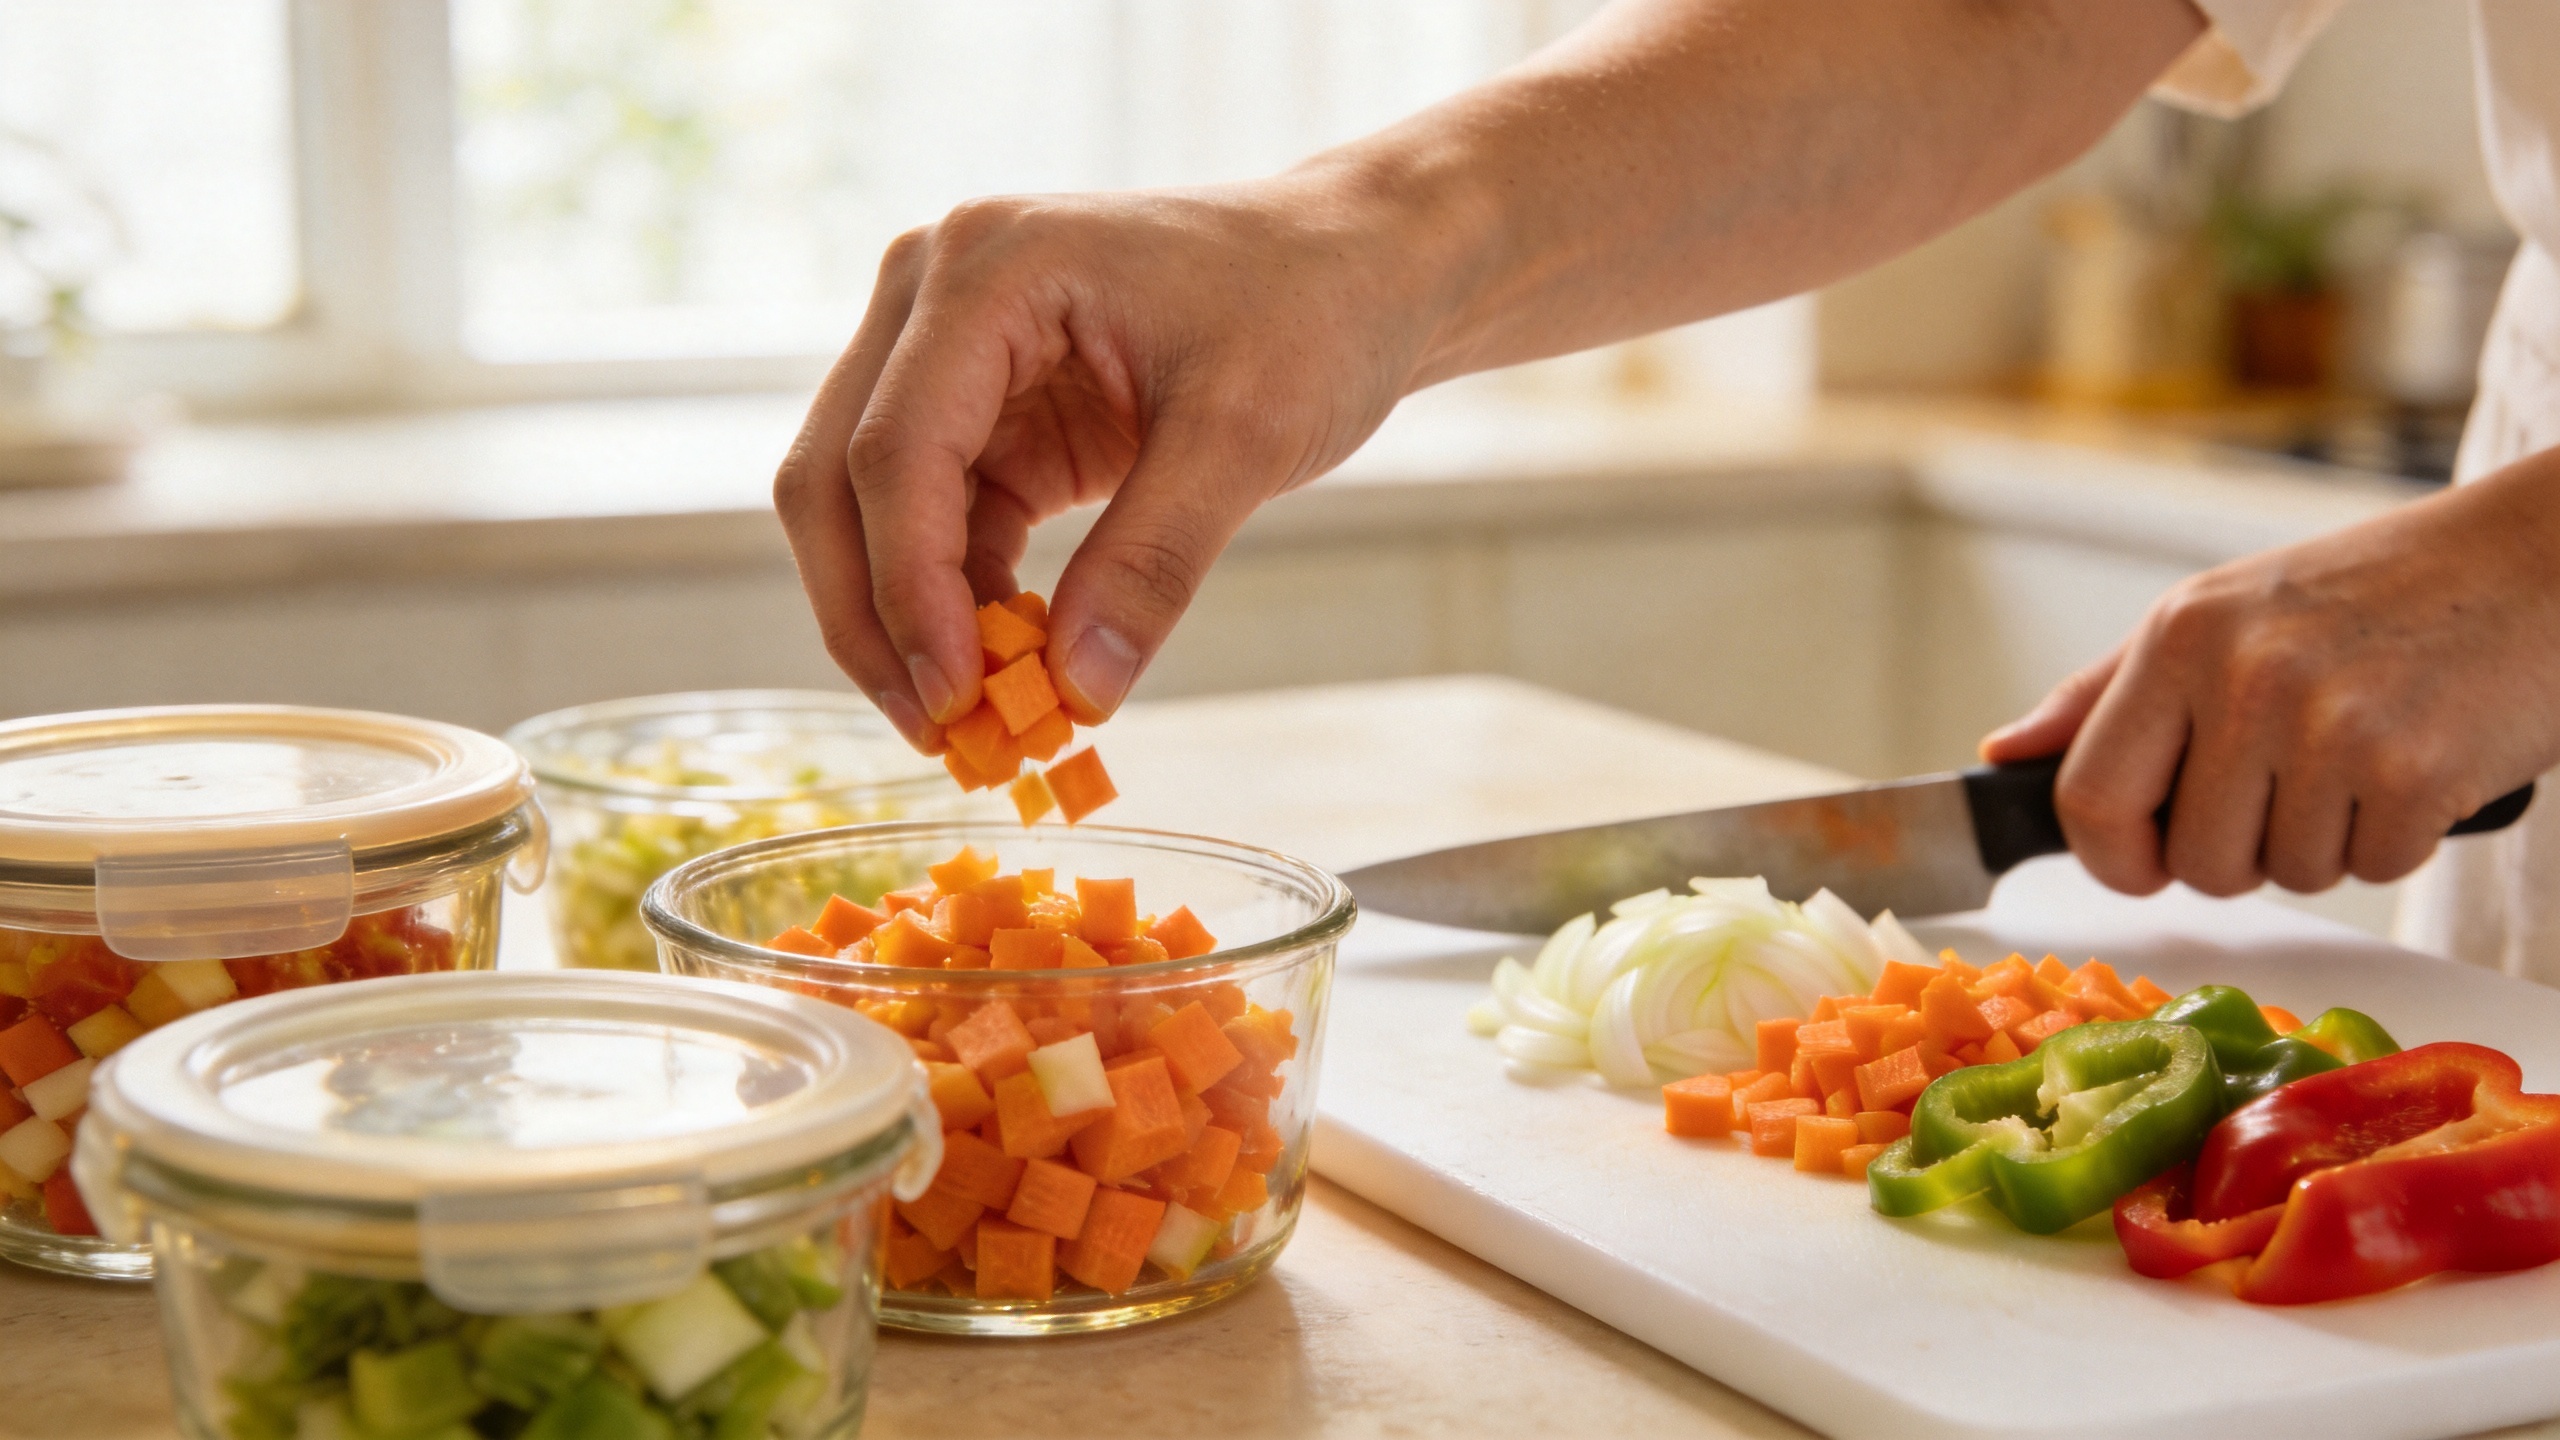
Walking into a week with meals already cooked changes everything about weight loss: lunch is no longer a salad bought in desperation, dinner does not quietly become takeout, and your calorie target survives contact with a busy Tuesday. The catch is that most meal prep advice assumes you already own a label maker and five free hours every Sunday. This guide assumes neither.
Below you will learn the three prep styles, how to pick recipes that survive refrigeration, a shopping approach that prevents waste, and a single 90 minute session that sets up days of on plan eating. Start with one style and one session. You can scale up once the habit sticks, not before.
Step 1: Choose Your Prep Style
Meal prep is not one method. Pick the style that matches your week; most beginners do best starting with ingredient prep and graduating toward fuller assembly later.
Ingredient Prep
Wash, chop, and partially cook components without assembling full meals: roasted vegetables, a pot of rice or quinoa, baked chicken breasts, boiled eggs, washed greens. Meals get assembled fresh in 10 to 15 minutes. This is the most flexible style, and the easiest entry point if a week of identical containers sounds suffocating.
Batch Cooking
Cook two or three big recipes in bulk, portion them into containers, and rotate through the week: chilis, soups, casseroles, braises. This is efficient and cheap, but you will eat the same lunch several days running, which some people find comforting and others simply cannot tolerate. Know which person you are before you commit.
Full Meal Assembly
Complete, portioned meals with weighed ingredients and exact calories for every container. This is the most precise option for a calorie deficit and the most work up front. If you are following a structured plan like our 1,600 Calorie Meal Plan, this style mirrors it almost exactly, right down to the numbers printed on the day.
Step 2: Pick Recipes That Survive Storage
Not every good recipe is good meal prep. Prioritize dishes that improve or hold up after two or three days: stews, chilis, curries, roasted sheet pan meals, grain salads, and marinated proteins. Our Turkey Chili and Chicken Burrito Bowl are classic prep recipes for exactly this reason; both taste better on day two and portion cleanly. Skip prepping anything meant to be crispy, already dressed salads, or delicate fish more than a day ahead, because those fall apart in the fridge no matter how well you store them.
A workable beginner formula: two batch cooked mains that each cover three meals, one breakfast you can repeat daily, and fresh components like greens and fruit bought for the back half of the week. That covers breakfast, lunch, and most dinners with only about four recipes in play.
Step 3: Shop With a List Built From the Recipes
Choose your recipes first, then write the grocery list directly from their ingredients, consolidating overlapping items as you go. Check the pantry before you leave, because half the time the rice, beans, or spices are already sitting there. Shopping from a recipe built list typically shrinks both the bill and the impulse purchases, and it is your single best protection against the Sunday evening discovery that a core ingredient never made it into the cart.
Step 4: Run a 90 Minute Prep Session
Block 90 minutes on a weekend day or a free weeknight, then work in this order so the long cooking items never wait on you:
- 1Minutes 0 to 10: preheat the oven, start any grains or slow cooker recipes, and get the longest cooking items going first.
- 2Minutes 10 to 40: roast proteins and vegetables on sheet pans while a chili or soup simmers on the stove.
- 3Minutes 40 to 55: make one no cook item, such as our Overnight Oats for breakfasts or a simple vinaigrette for the week.
- 4Minutes 55 to 80: portion everything into containers as the food cools, labeling each with contents and date.
- 5Minutes 80 to 90: clean up, then open the fridge and look at a week of decisions already made. That view is the whole payoff.
Storage, Safety, and Reheating Rules
A few simple rules keep prepped food both safe and worth eating:
- •Refrigerate within two hours of cooking; most cooked meals keep three to four days at 40 degrees Fahrenheit or below.
- •Freeze anything planned for day five onward; most cooked dishes hold two to three months in the freezer with only minor quality loss.
- •Reheat leftovers to 165 degrees Fahrenheit throughout, and reheat only the portion you are eating, never the whole batch.
- •Store dressings, sauces, and crunchy toppings separately, then add them at mealtime so textures stay alive.
- •Use shallow containers: food chills faster and more evenly, which matters for both safety and flavor.
Beginner Mistakes to Skip
- •Prepping seven dinners before you have ever prepped one. Start with three or four days of coverage and expand next week.
- •Choosing recipes with zero ingredient overlap. Ten recipes mean forty ingredients; three recipes sharing proteins and vegetables mean one easy shopping trip.
- •Ignoring snacks entirely. Unplanned afternoon hunger raids even the best stocked fridge, so prep two options like cut vegetables with hummus or portioned nuts.
- •Prepping meals you do not actually like. Compliance beats optimization every time; if you hate the food by Wednesday, the whole plan dies by Thursday.
Meal prep for weight loss is not about becoming a different person on Sundays. It is about making one focused decision per week instead of twenty hungry ones. Pick a prep style, choose recipes that last, shop from your recipes, and run a single 90 minute session. Two or three weeks of that rhythm, and holding a calorie deficit stops being a daily fight.